
Howdy folks! So today I am back {yet again} with a photography post. I want to share with everyone one of the many tricks I use in my photography in post production. It's one of my favorite tricks, and although it's quite time consuming, it really makes a world of a difference - It's the good ole paintbrush tool in photoshop!
Before I really got into photography a few years ago, I always knew it was important to use photoshop in post production, but I didn't always do it. Mainly because I didn't have clients at the time and I really had no reason to test it out. Now that I have been back into the world of photography and offering my services, I have really embraced the art of photoshop and all its glory. It really is a FABULOUS tool.
Today's tip is about airbrushing your photos. Everyone wants to look better in their photographs, right?? Well using the paint brush tool in photoshop is a great way of evening your skin tone and creating a beautiful glow that you otherwise might not have with the original file. With adults, it also makes a world of a difference with dark circles under the eyes, wrinkles, harsh shadows etc.
Here is a brief tutorial on how to airbrush your photo:
1. Open your photo into Photoshop
2. Use the eye dropper tool to pick up a similar skin tone color that you will use to airbrush your desired area.
3. Choose your brush tool (with the color you have just picked up) and give it some opacity. Make sure the brush has 0% hardness so the airbrushing will be nice and smooth.
4. Create a new layer on top of the photo and start airbrushing over your desired areas.
5. Choose your eraser tool (0% hardness & about 35% opacity... or less) and start erasing away areas of the new airbrushed layer that might have gone overboard.
6. Repeat steps 4 & 5 until you get your desired look. I end up creating many layers and erasing and adding to all of them until I am happy with the outcome.
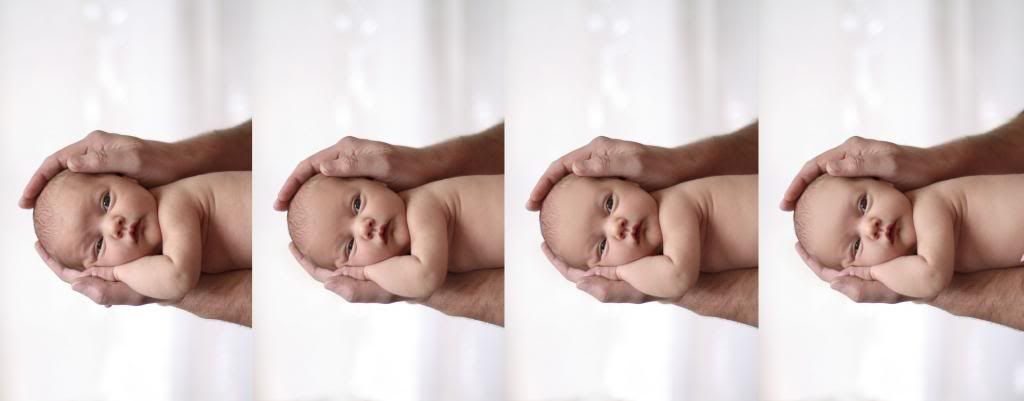
Here are some of my process photos. As you can see, the original file is on the left, and my process continues on to the right. The slightest change really does make a world of a difference! Especially in sweet newborn sessions:)
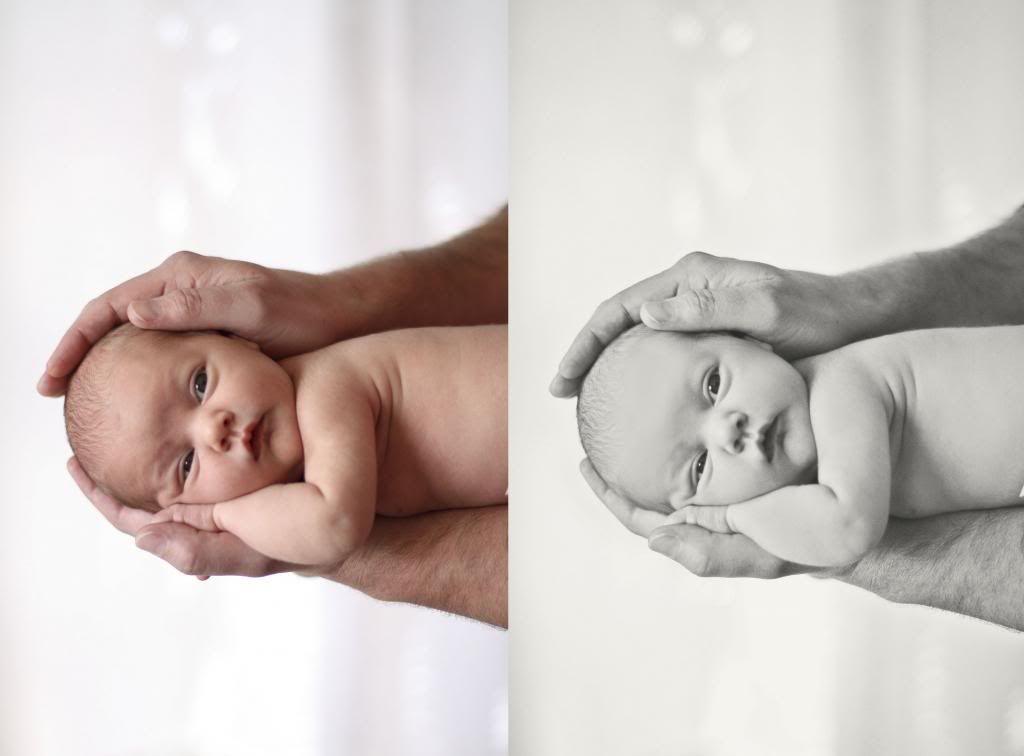
The before photo is on the left and the final result is on the right.
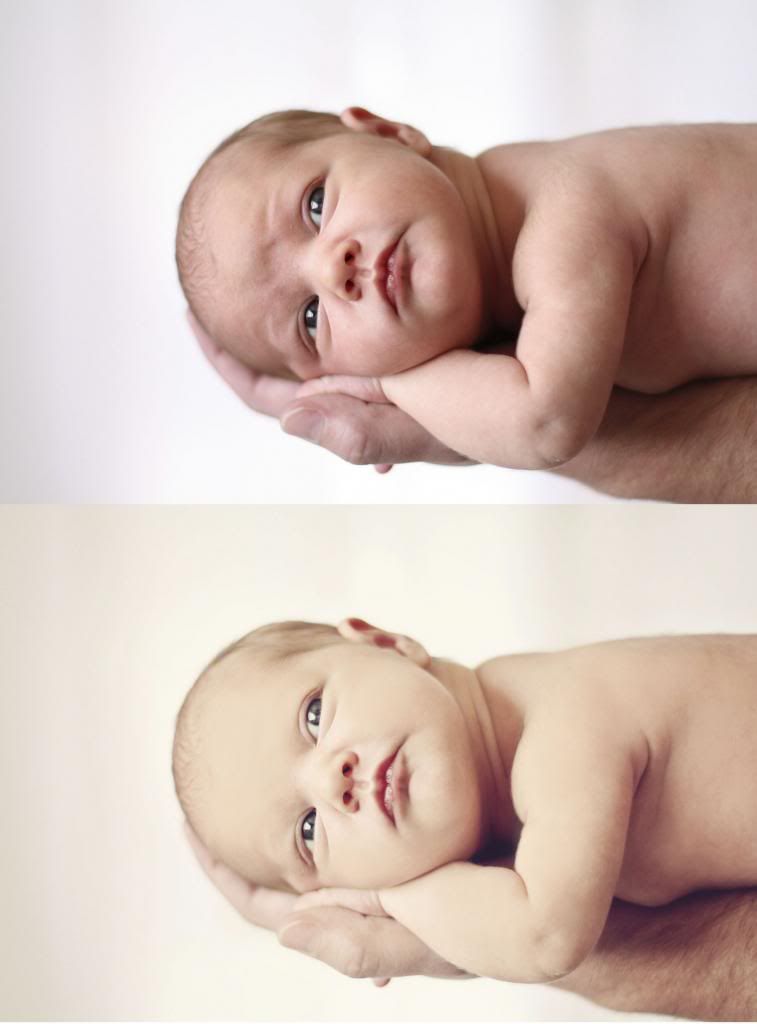
Here is another example of my process:

And as you can see, the before photo is on the top and the after is below.
These newborn examples really show how you can erase that crinkled forehead or unwanted shadow. Before I ever start airbrushing, I always make sure to observe the photo first. I want to make sure I keep the highlights true to the original. Otherwise it will look unnatural. To see more from this newborn session, click through {HERE}
And just a quick reminder that Google Friend Connect will be GOING AWAY on July 1st, so please please please follow along with Bloglovin. It is SUCH a great blog reader, and I even like it better than GFC! Who knew?? Anyways, you can follow along from the link below, or see my sidebar to click on the button. It took me 2 seconds to sign up for FREE and it literally transferred ALL of my blogs over in about 30 seconds. Can't get much better than that, right??

Who I'm linking up with:
I am slowly learning how to use Photoshop - thanks so much for this tip!!
ReplyDeleteI love Photoshop too. You photos are beautiful!
ReplyDeleteHi Amy! Thanks for stopping by and leaving a sweet comment. Happy to see you are a Texas girl! One of these days, I would love for us all to get together. Following your blog now! :) Samantha
ReplyDeleteSweet pic and great tips.
ReplyDeleteYou're a STAR at I Gotta Create! Thank you for partying with the Wildly Original Crowd.
<3 Christina at I Gotta Create!
Thank you Amy!
ReplyDeleteGreat info,
Deb@LakeGirlPaints